Sunday, April 26, 2020

Cardboard down pipe.

With the new radiator in place I was able to mock up my downpipe using 3" cardboard shipping tubing and some painters tape.  Took about an hour or so but should give my friend a good idea about how to make it.

Next step is to find out when he's free, tow the car over to his garage and start on the downpipe and exhaust.


Wednesday, April 22, 2020

New radiator, who dis?

After going back and forth for a bit deciding on whether to modify my existing Mishimoto or order something different I went through Go-Autoworks and got one of their dual core drag radiators. It fits more perfectly than I could imagine and it came with AN16 fittings so now I just have to wait for SpeedFactory to get done modifying my thermostat and upper coolant port to AN16 fittings and I should be gtg!

With this in place I have a ton of room for the down pipe so I can start doing a mock up and once that's done I can make brackets and bolt down all of the front end pieces. 


Friday, April 17, 2020

Baby got bungs.

So the AN10 bungs and header are done and I did some mock up last night using the downpipe I had handy. It's still tight and I will 100% need a custom radiator at some point. Right now the Mishimoto EG will have to do the gangster lean.
Things left to do:
  • Mount breather chamber and run lines.
  • remove Ebay BOV mount and weld on Tial mount to charge pipe
  • Mount and wire Hondata boost controller.
  • Tidy up wiring.
  • Run vacuum lines.
  • Cut and weld AN16 fittings to radiator. (AN16 modified thermostat housing and radiator neck on head coming from SpeedFactory)
  • Mock up downpipe to correct dimensions.
  • Weld new angles for wastegate pipe.
  • Figure out routing and weld exhaust.
  • Send out valve cover for wrinkle coating.
  • Remove driveshaft??
  • Get a tune.
  • Get custom radiator made.
Not too much left. I'm debating removing the driveshaft after we get the exhaust routed so that it will be easier to tow, and I won't have to worry about driveline issues on the dyno.


Tuesday, April 7, 2020

So...uhhh...blogs are still a thing, right?

It's been a while.

I got into instagram for a minute, then realized like other social media it just doesn't really do it for me. The pace at which people like and dismiss builds that take years to make just isn't my style.

With that said I'd like to keep the blog up to speed as a more permanent place of record for my build and it's progress, or lack of it.

It's been slow but progress is progress I guess.

I got the ECU done, and the pulled the engine harness and got the Rywire harness installed along with some other rewiring and extension that needed to be done.


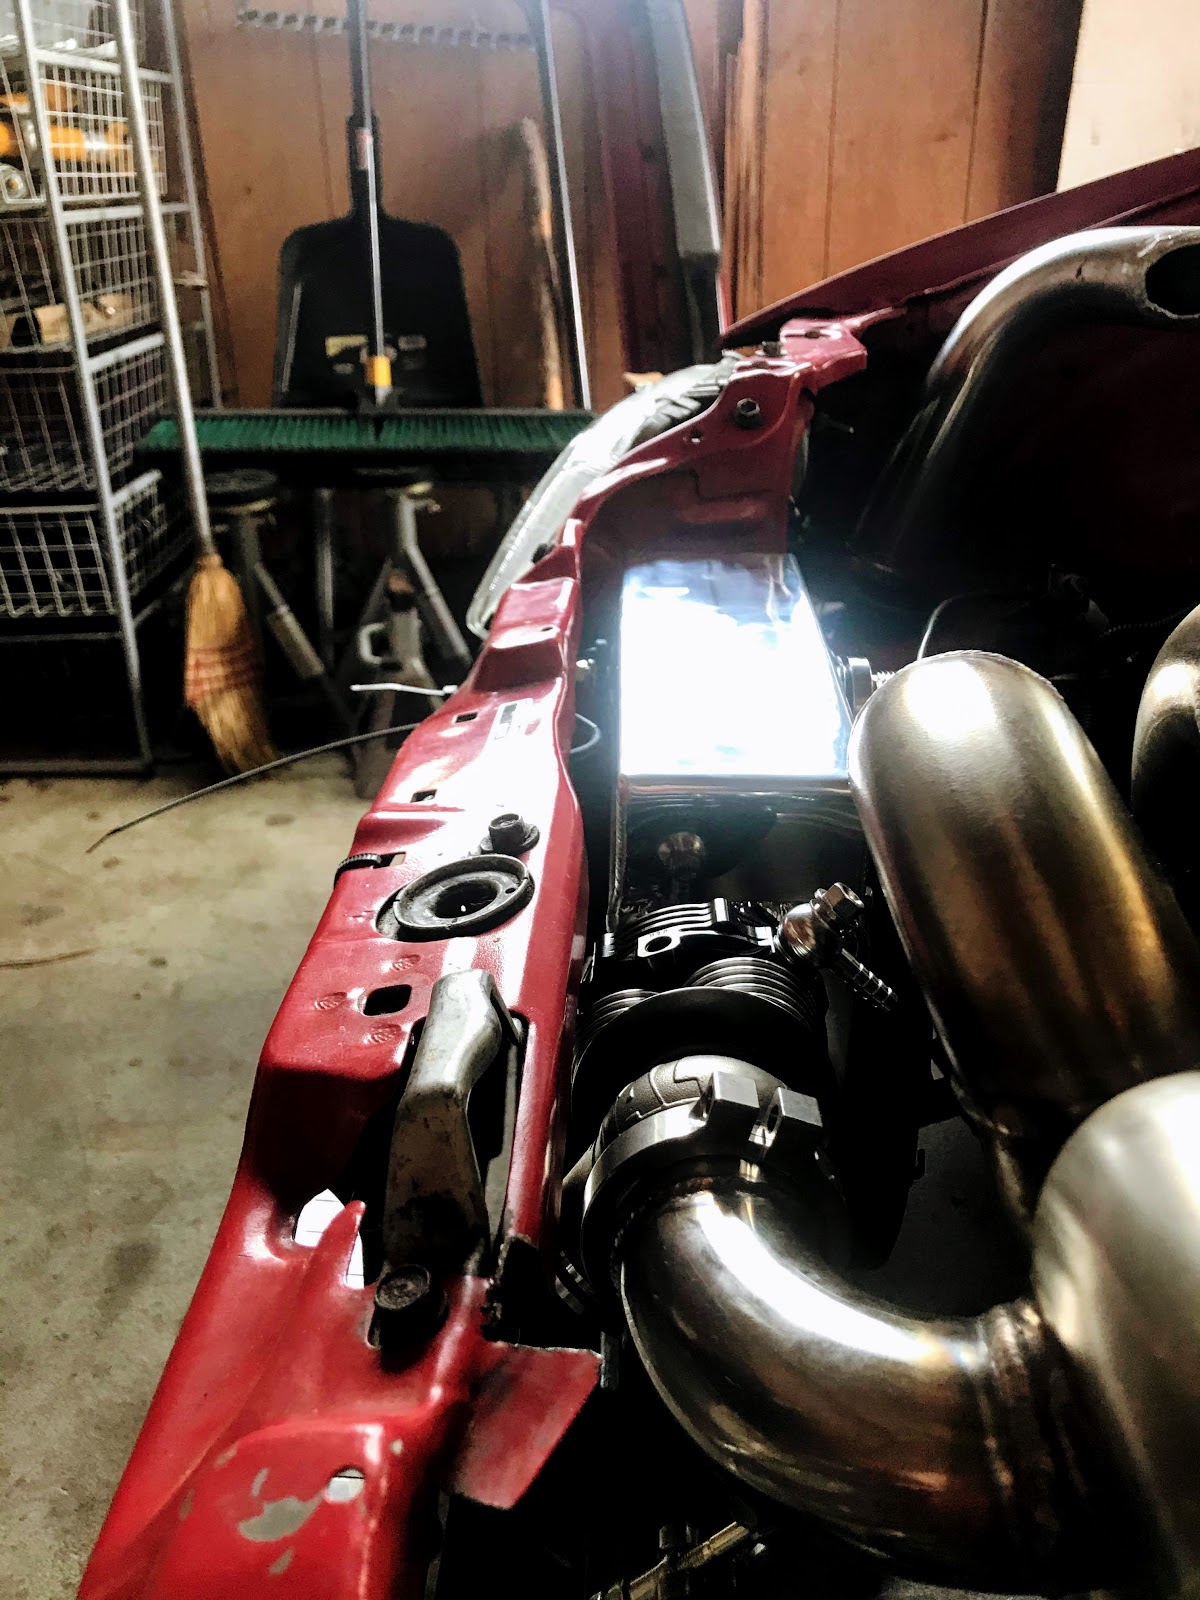
At that point I was basically ready to go.  I did a mock up of the motor in my garage, then bolted on an ACT stage 4 clutch and OEM balanced flywheel. 


The clutch was a little interesting because I was using an 88 manual trans on a 91 flywheel. So I ended up needing a clutch plate that matched an 88 21 spline, but had a 212mm diameter.  What do?  Well just my luck the ACT clutch for a 1986 Prelude Si is 21 splines and 212mm...what are the odds!!? So I have a frankenclutch but it all works.


I bolted everything in and got it on a trailer to King Motorsports for tuning.


 Then they let me know that the main crank seal and the cam seal were leaking. Sooo I went back and picked it back up. Boo. They also said my Ebay turbo already had some blowby just in the 5 minutes they ran it.

So the car is back in the garage and over the winter I decided to upgrade some parts.

I'm still using the Ebay intercooler and charge piping for now, but I've upgraded to a Comp 5858 .63 turbo, and Tial wastegate and BOV.  I've also got a vent kit from Speed factory and at some point a radiator needs to go in the car.  The Rywire tucked radiator won't fit, so not sure what to do.  But all that will come in a new post!